Darkshade Caverns is the second 4-man group dungeon for Ebonheart Pact players. Darkshade Caverns is located in southeastern Deshaan, just southwest of Silent Mire village. The normal mode of the dungeon is designed for level 20-23 players.
Darkshade Caverns isn’t limited to Ebonheart Pact – the other alliances will gain access to them once they’ve completed their own level 20-23 group dungeons: Elden Hollow and Wayrest Sewers.
This guide explains the boss fights & mechanics of Darkshade Caverns in detail, without spoiling the story.
Darkshade Caverns Overview
All 4-man group dungeons include a quest which drives the story forward and Darkshade Caverns is no exception. You’ll also receive a skill point for completing the quest, so it’s definitely worth doing.
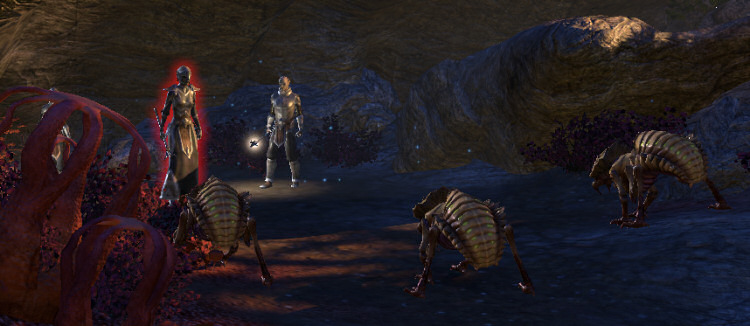
You’ll run into lots of Kwama and dwarven spiders & centurions in Darkshade Caverns.
Recommended Group setup
Darkshade Caverns is a pretty easy instance, but has at least one, maybe two fights which can catch groups by surprise.
Surprisingly there’s not much use for a tank in Darkshade Caverns. There is not a lot to block, which is the main reason you’d want to have a tank in the first place. A healer will be useful for The Hive Lord and perhaps Foreman Llothan as well.
Bosses
- Head Shepherd Neloren (miniboss)
- Foreman Llothan
- The Hive Lord
- Cavern Patriach (miniboss)
- Sentinel of Rkugamz
- Cutting Sphere (miniboss)
Normal Mode
Head Shepherd Neloren
Level: 22
Health: 4,590
Head Shepherd Neloren is the the first boss in Darkshade Caverns. She comes with a bunch of kwama adds which should be taken down quickly because of their charge ability.
Neloren has very little health and should not be a problem for any groups.
Boss mechanics
- Neloren casts a flame attack projeticle which deals flame damage to anyone caught in it. Just don’t bunch up and you’ll be fine. Even if you did bunch up for the whole fight, I doubt you would ever die.
- Neloren has a small Health pool, and to compensate for that she heals her self. She has at least one heal-over-time which I don’t think can be interrupted, but I believe you can interrupt some of her casted heals.
Foreman Llothan
Level: 23
Health: 16,060
Llothan requires at least some level of attention because of his highly-damaging AOE attack. A lot of the damage in this fight is completely avoidable, though.
Boss mechanics
- Llothan periodically casts pools of poison on the ground. You have a small period of time to get out of the spot. If you get hit by the poison, you’ll take poison damage over time. It’s not deadly, but does hurt.
- The main thing to look out for is Llothan’s AOE attack which he casts in a small radius around him. Anyone caught in the red circle will take massive shock damage and get knocked down. This will easily be the biggest source of damage in this fight, which is totally avoidable.
- Llothan periodically runs to different locations in the room. He will lift his staff in the air and summon 6 kwama adds with 341 Health. They can be AOE’d down easily.
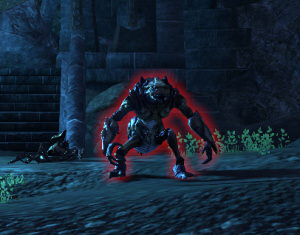
The Hive Lord
 Level: 23
Health: 16,060
The Hive Lord is possibly the most damage intensive fight in Darkshade Caverns. Some of the damage is avoidable, but you’ll generally benefit from having a healer in this fight.
Boss mechanics
- The Hive Lord has afrontal cone slam attack, which is very hard to avoid. You are not given much time dodge this at all. The tank should make sure the Hive Lord is only ever facing him.
- Periodically The Hive Lord hunkers down to summon a bunch of kwama adds. These have very little health and can be AOE’d down easily.
- The main thing to look out for is Hive Lord’s massive AOE attack. He will stay still and slam his fists on the ground, creating a LARGE red circle around him. Anyone caught in the circle will take damage in pulses. The longer you stay in it, the more damage you will take. Getting hit by one or two pulses will not kill you, but staying in the red circle will.
- The Hive Lord also randomly jumps to distant targets and deals a bit of physical damage in the process.
Cavern Patriarch
Level: 23
Health: 8,030
Cavern Patriarch is a giant netch and a miniboss in Darkshade Caverns. There’s very little to worry about – he is a complete pushover.
Boss mechanics
- As far as I could tell, Cavern Patriarch only has one major ability: he plants a poison standard which deals a bit of poison damage to anyone in the radius.
- It’s possible he has additional mechanics, but the fight will probably be over before he has the time to execute them in normal mode.
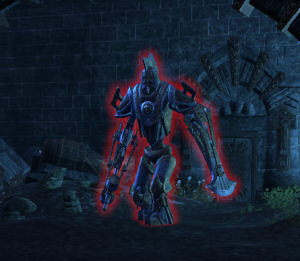
Sentinel of Rkugamz
 Level: 23
Health: 16,060
Sentinel of Rkugamz, a giant dwarven centurion is the final main boss of Darkshade Caverns. He has a couple of interesting mechanics, but doesn’t do too much damage. The fight requires lots of movement.
Boss mechanics
- The Sentinel has a frontal cone attack which is very difficult to avoid. It doesn’t do much damage, though. Either way, the tank should face him away from the group.
- From time to time Sentinel of Rkugamz stops to charge his weapon with lightning. He’ll mortar down pools of lightning on players’ locations. The pools will increase in size. As long as you are moving, you should not get hit by them. If you do, you’ll take a fair bit of shock damage.
- The Sentinel sometimes starts chasing a random player whilst doing a whirlwind attack around him. Just kite him during this attack, even though the whirlwind doesn’t seem to do much damage.
- When the boss gets below 25% Health, 3-4 dwarven spiders will spawn and run to random locations in the area. They’ll generate a green bubble / shield above them which will heal the boss if he touches the bubbles. As long as you don’t get close to the spiders, you can safely ignore them altogether and just burn the boss down.
Cutting Sphere
Level: 23
Health: 8,060
Cutting Sphere is a miniboss on your way out of the instance. He comes with a bunch of dwarven spider adds with him. There’s very little to worry about in this fight.
Boss mechanics
- The only mentionable thing is the whirlwind attack he keeps channeling around him. It doesn’t seem to do barely any damage, but it’s still a good idea to spread out.
- AOE the dwarven spider adds down first and then kill the Sphere. Simple!